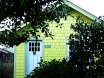
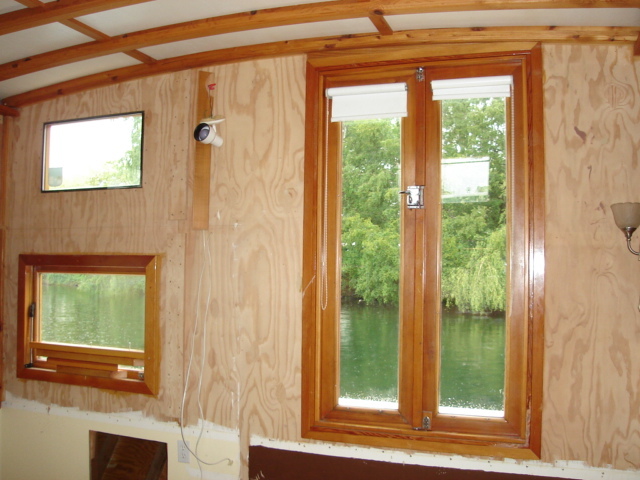
Houseboat Nana wall.
The wall in question.
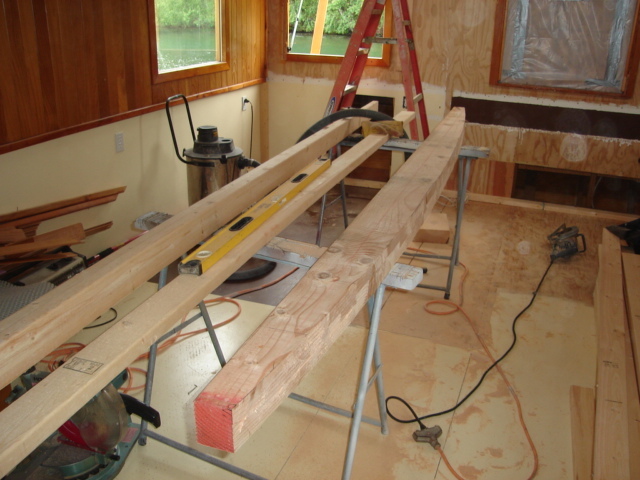
  measure twice, cut once... 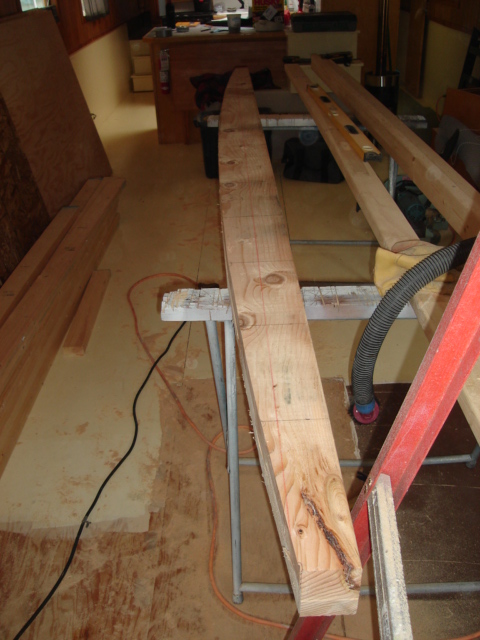 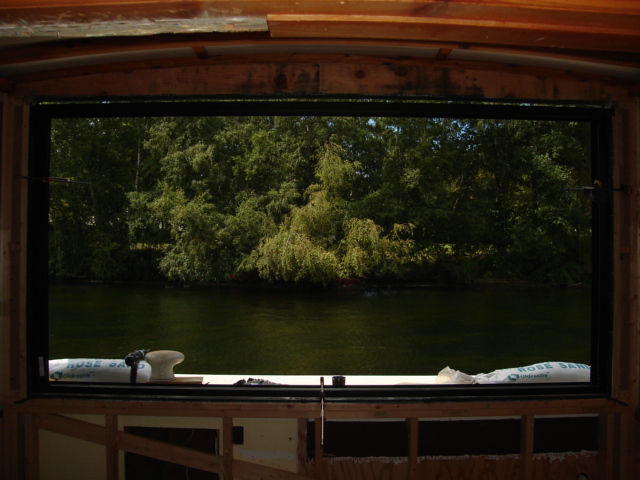 The frame is clamped in place, then shimmed and screwed in place.  Here the panels are in installed 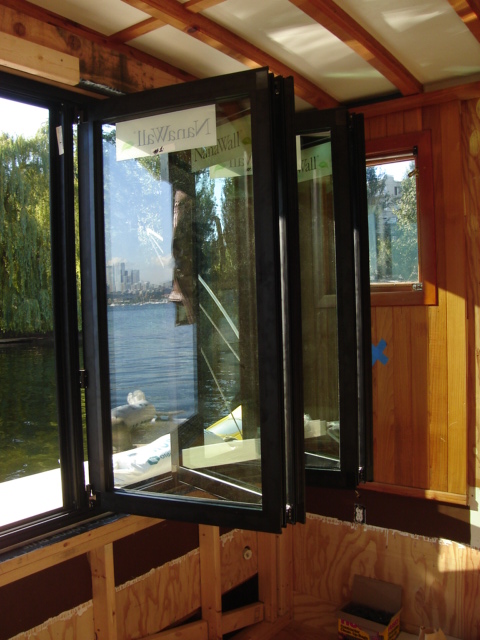 Operating smoothly... 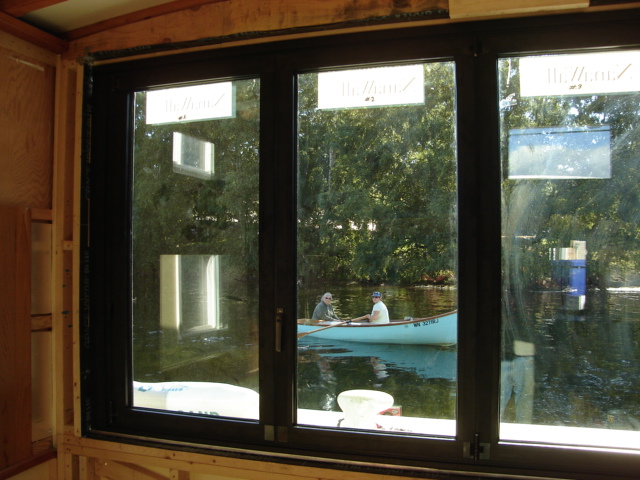 Neighbors gliding by. 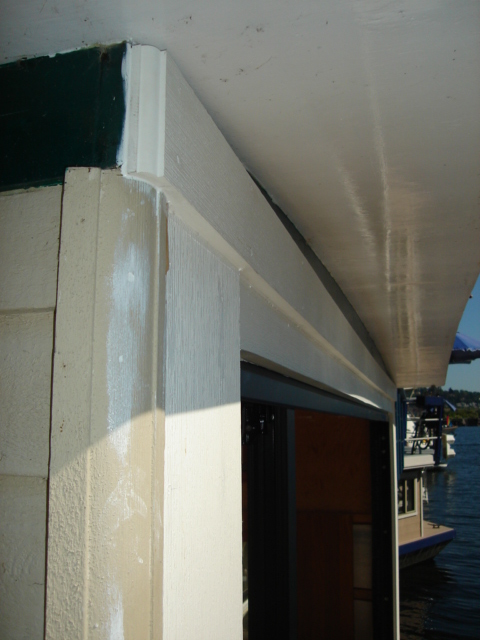 |
  this is actually a series of straight cuts...  ...fits like a glove! 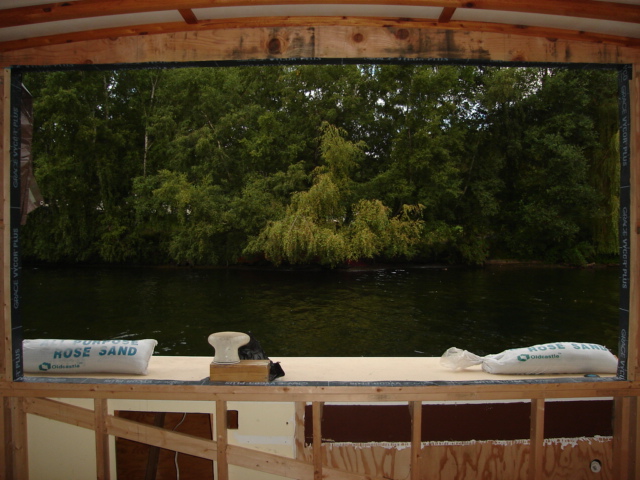 That really opens up the view...  speaking of the view...  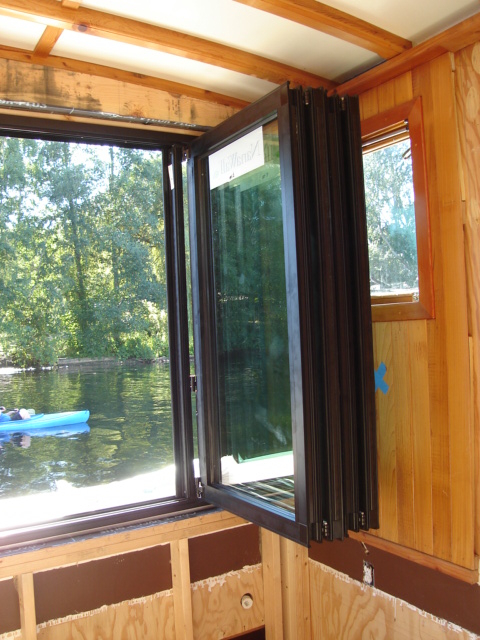 Fully open.  Exterior trim installed  |
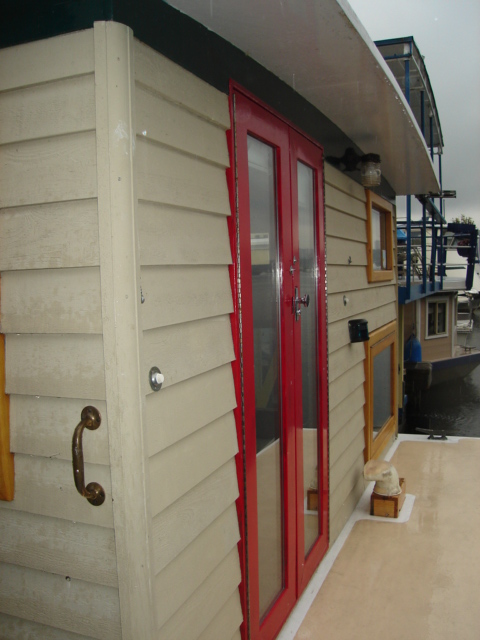
The other end of the boat...
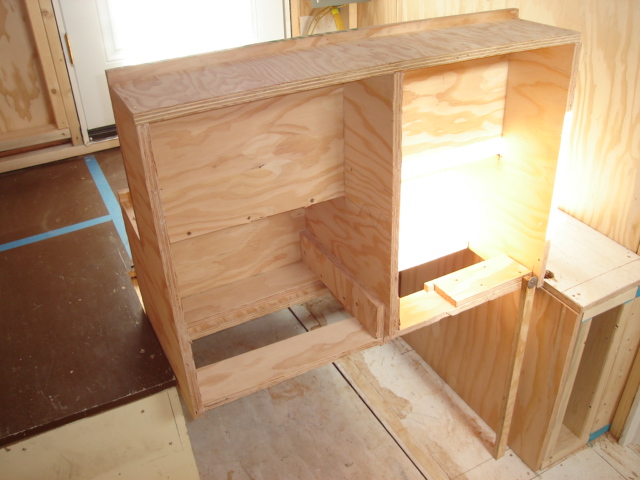
Now that the Nana Wall is in and weather tight, we've turned our attention to the other end of the boat, Last week we framed in the "wet wall" that will carry the plumbing for the kitchen and bathroom (galley and head). A new, full sized (6'-8") exterior door was installed in a new location, a new bathroom door was trimmed down to 6'-2" and installed.
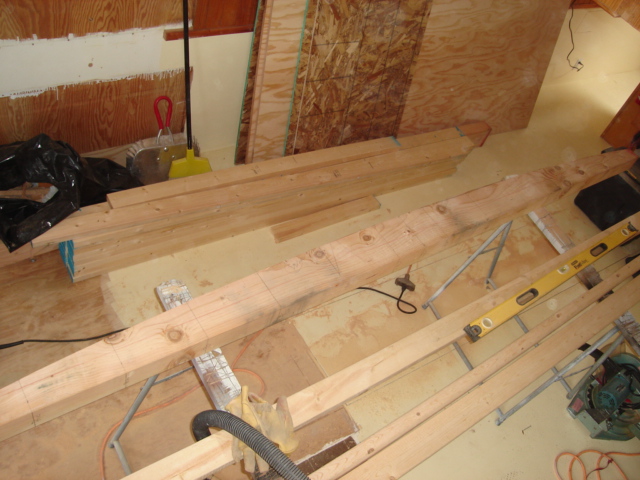
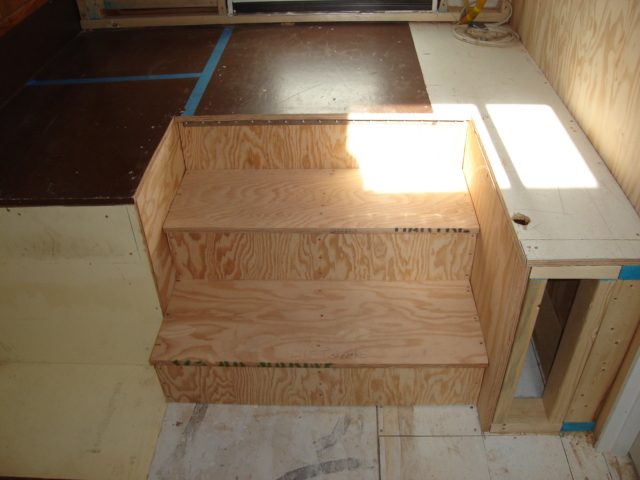
Finally, we turned our attention to the stairs, which needed to be removable to serve as access to the area under the deck. By salvaging a piano hinge from one of the windows removed to install the Nana Wall we were able to create a really easy to operate stair and hatch in one.
Finally, we turned our attention to the stairs, which needed to be removable to serve as access to the area under the deck. By salvaging a piano hinge from one of the windows removed to install the Nana Wall we were able to create a really easy to operate stair and hatch in one.
back to Projects